How to automate transcriptions & subtitles with Qbrick
Video transcriptions and subtitles are a necessity for a lot of companies and video creators. This article will show you how to generate & use them without manual work.
Why automated transcriptions and subtitles are necessary for video creators
Video transcriptions and subtitles are a necessity for a lot of companies and video creators.
Several sources say that up to 85% of all video content on Facebook is watched on mute, which means that your video content on social media need captions for your message to get across.
Beyond that, many organisations are burdened with demands from the Web Accessibility initiative, implemented by the EU in 2018. In short, this law means that all video content published by public organisations need to have subtitles accessible to viewers.
This can be a hard task for avid video creators, with hundreds of videos in their archive. Transcribing these videos manually takes a lot of time and work, which gets in the way of the usual production flow.
Luckily times have changed, and the transcription process can today be automated with the help of AI solutions. Even with this help, the transcribed text still needs to be matched and attached to the video. All of this can be achieved with Qbrick Speech to text.
Qbrick Speech to Text
What is Speech to text?
Speech to text is an app inside the Qbrick Video Platform that allows users to transcribe videos automatically as well as edit the text, attach it to the video and even translate it to other languages. It’s the complete solution to add subtitles fast and easy without having to compromise the quality.
So how does it work?
While logged in to your account select the media you want subtitles on and go into the “inspect” view. On the left-hand menu you’ll find the titular app “Speech to text”, click it to get the process started.
Inside the app you’re prompted with a “Generate transcription” button along with a dropdown menu where you can specify what language you want to transcribe in the video. To the right of the screen there’s also a video preview of the media and at the bottom a timeline correlating to that preview. Once the language decision has been made, click the generate button and the transcription process will start. The length of your video will affect how long it takes to finish, but it shouldn’t take more than a couple of minutes.
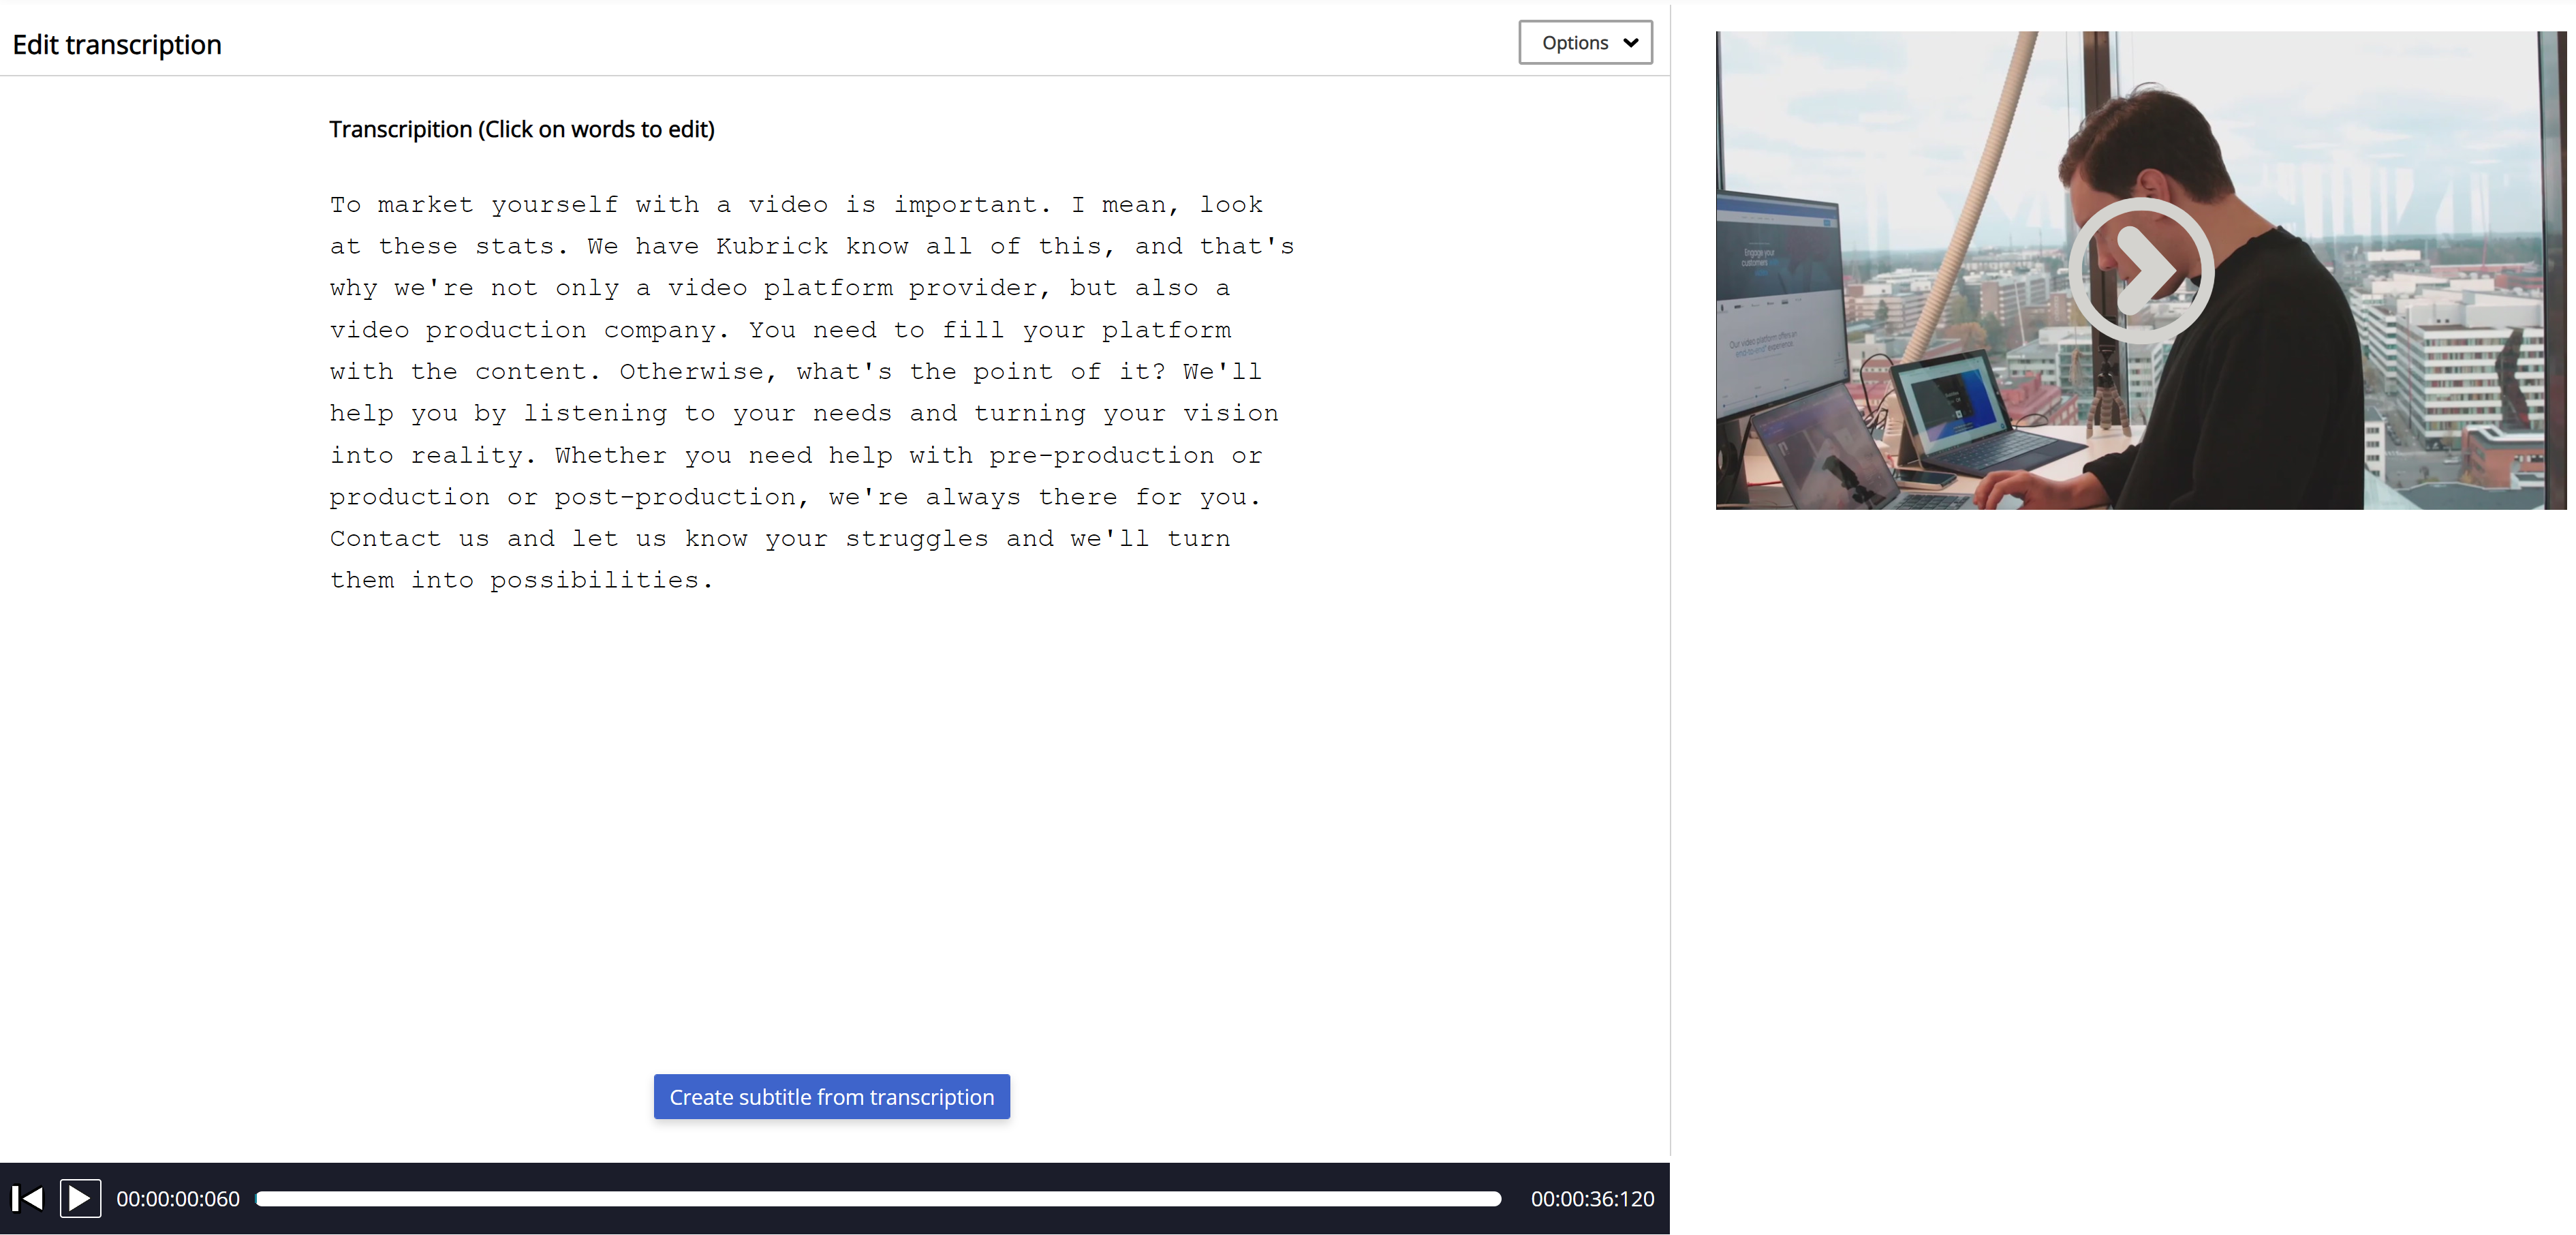
When the process is finished the full transcription will be displayed in the form of a full “raw” text. You’re given the choice of either editing the text or click “Create subtitle from transcription”. This will divide the transcription in to separate subtitle entries and attach them to the associated time codes of the video.
At this stage you now have full control to edit and tweak both the text content as well as the start and end point of all entries. Simply click the entry you want to edit, and the edit menu will pop-up to the right of it. Once you’re satisfied with your changes, click “Update” and the entry will updated. Aside from tweaking existing entries you can also add entirely new entries or delete ones you don’t want. Just click either the bin icon to remove or plus icon to add a new entry.
Note that this view is a workspace viewport and that in order to actually save the changes you’ll have to click “Save changes” at the top. This will update and replace the actual subtitle file.
Once you feel satisfied with your subtitles you now have the option to translate them into another language. Below the video preview you’ll find another dropdown menu where you can pick what language you want to translate to. The translation is built upon your original subs file so in order to get the best results make sure you’ve done a thorough job with the initial editing.
Pick the language you want to generate and then click “Generate subtitle”, within a few seconds the translation will be done and the new language subs will show up in the workspace viewport. You can edit these entries just like the previous transcription.
Right underneath the preview window you can see all of your existing subtitle files (srt:s) and just by clicking them you can jump between editing modes should some more tweaks be necessary.
From this menu you can also choose to download the srt files locally, in the case that you want to upload or attach them to another media. You can also download a raw text file of you transcription by clicking “Options” in the top right corner and choosing “Download raw .txt” from the dropdown.
Once you feel satisfied with your subs all you have to do is save, and now your video has subtitles!
In the Qbrick video player you can toggle between your different translations or turn them off completely.
Author
Andreas Bard
Video editor and content creator
Andreas Bard (Qbrick Production Team) is a video editor and content creator based in Stockholm.